Garden Office Pt 3 — Floor, Insulation, Doors & Windows
This is the third post in a series about the design and construction of my garden office. You can read part two here.
Floor
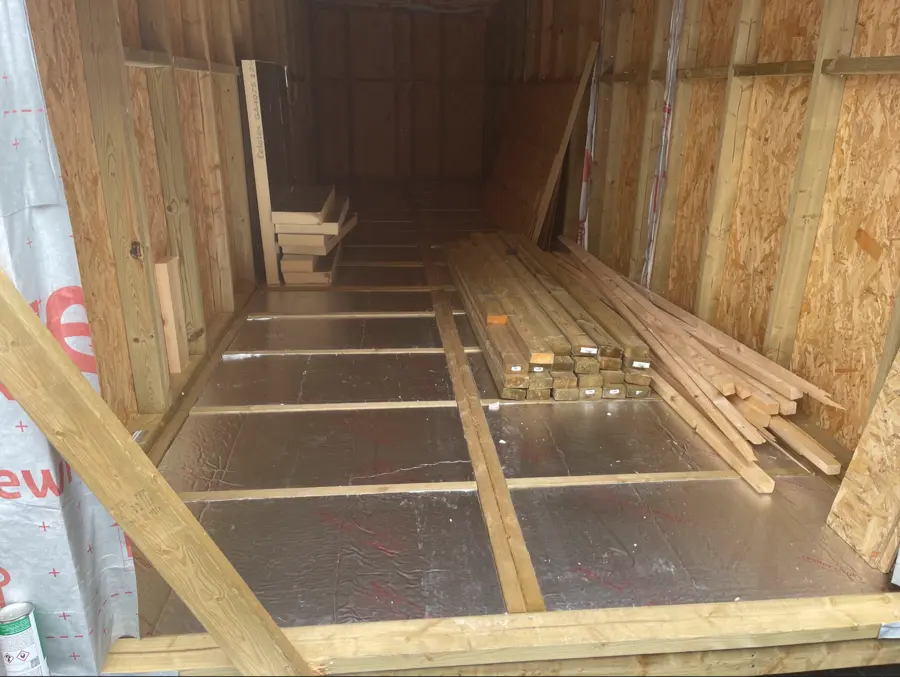
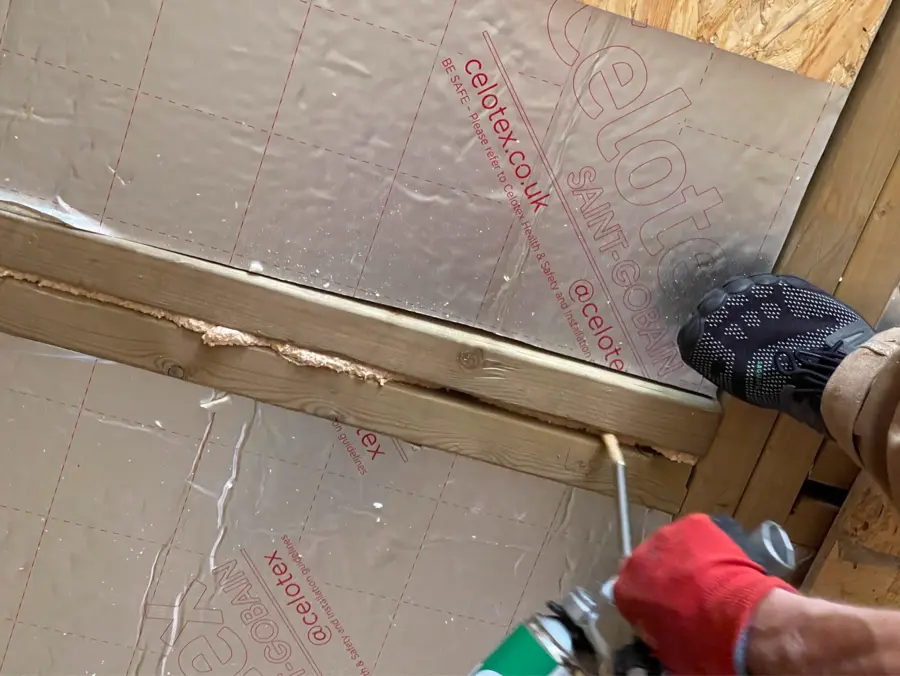
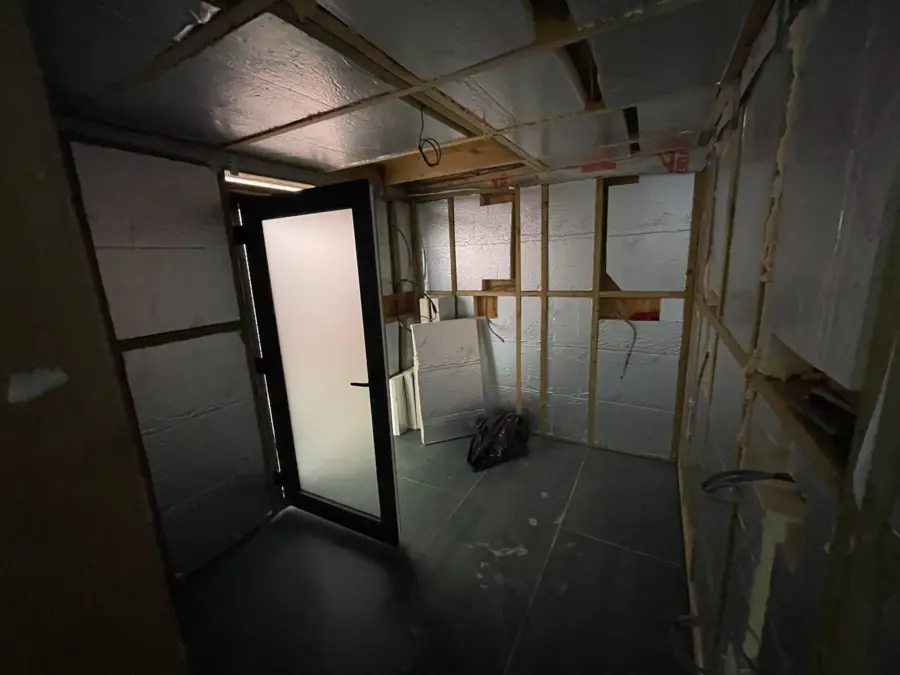
Before laying the floorboards, we installed 75mm PIR insulation in the floor frame and filled any gaps with expanding foam.
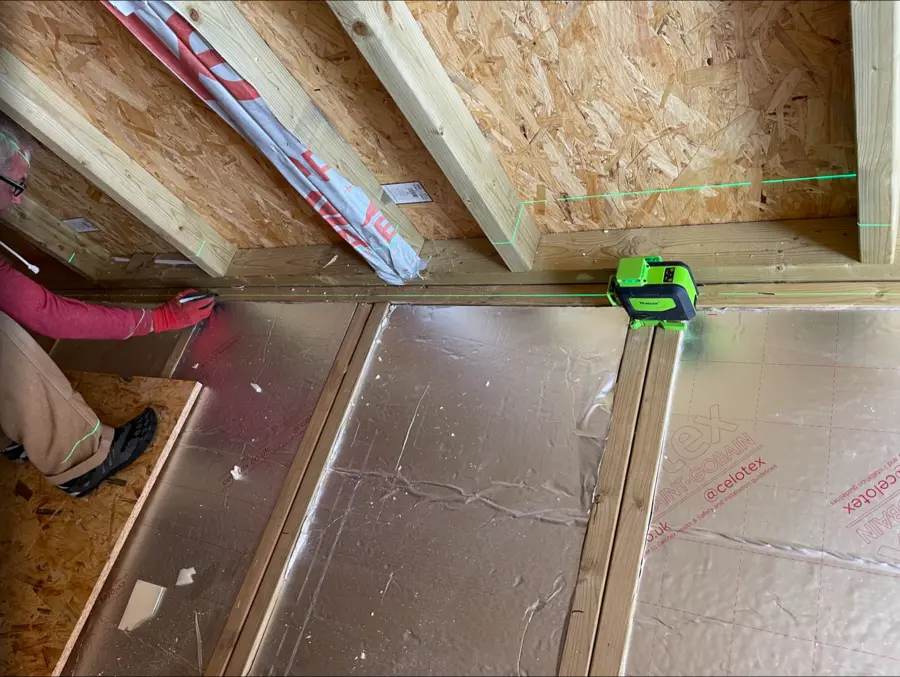
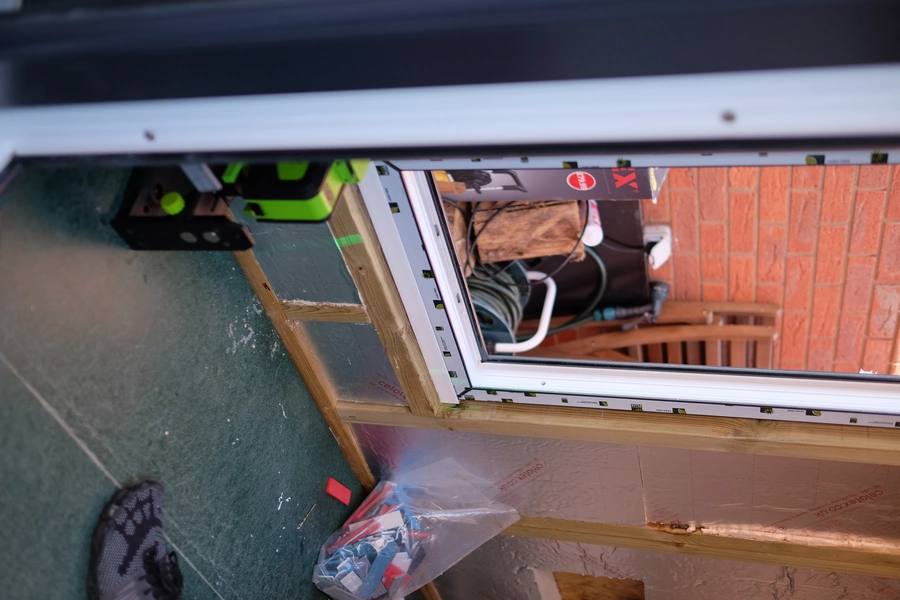
The laser leveller came in handy again to set out the edges of the floor.
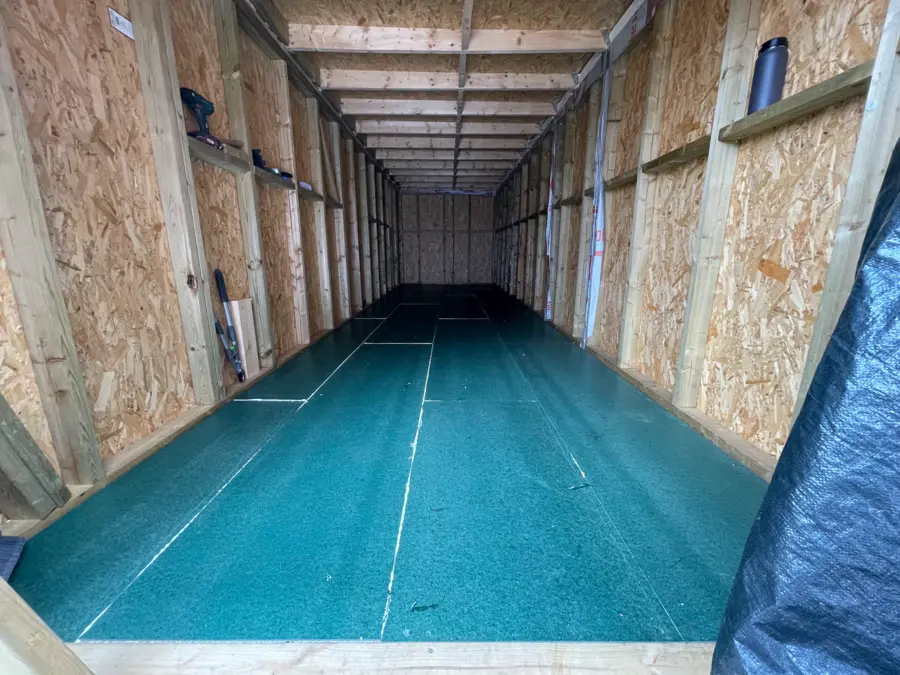
Once the floorboards were installed, it really started to feel like a room!
Doors
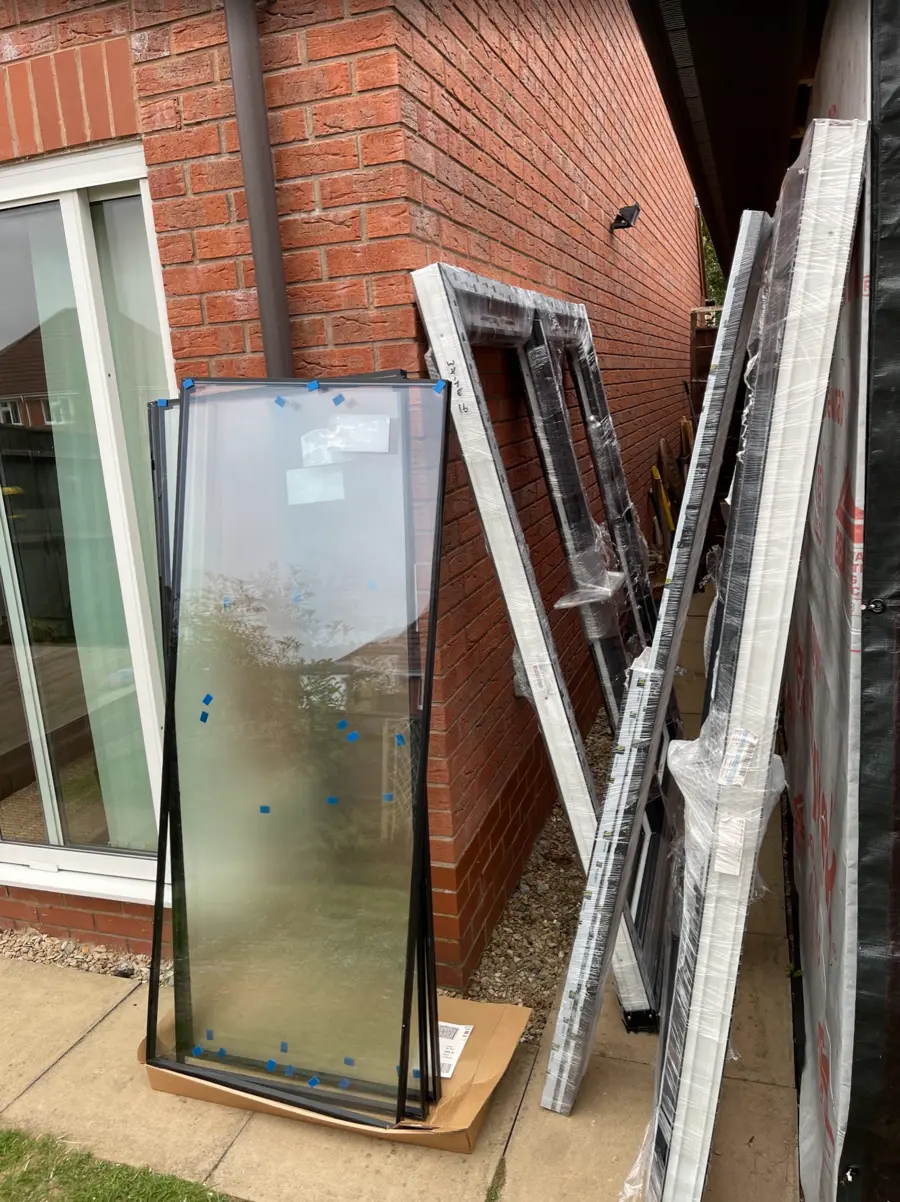
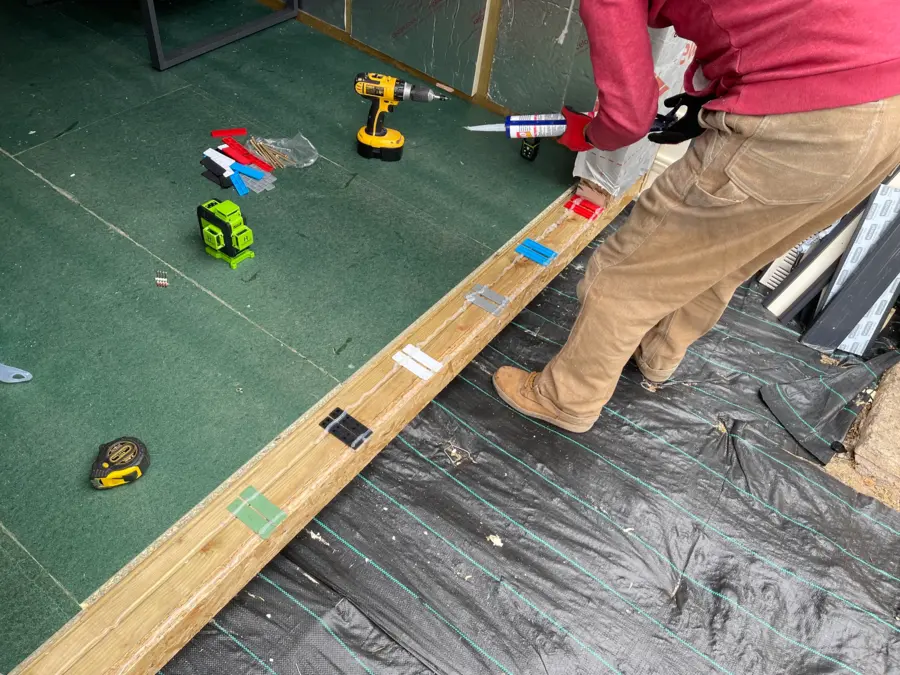
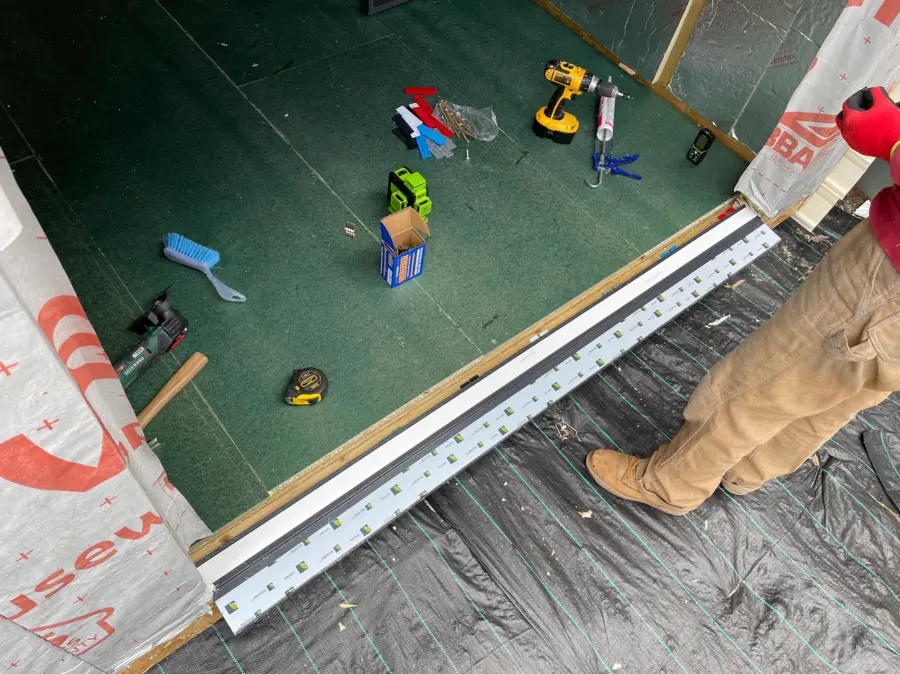
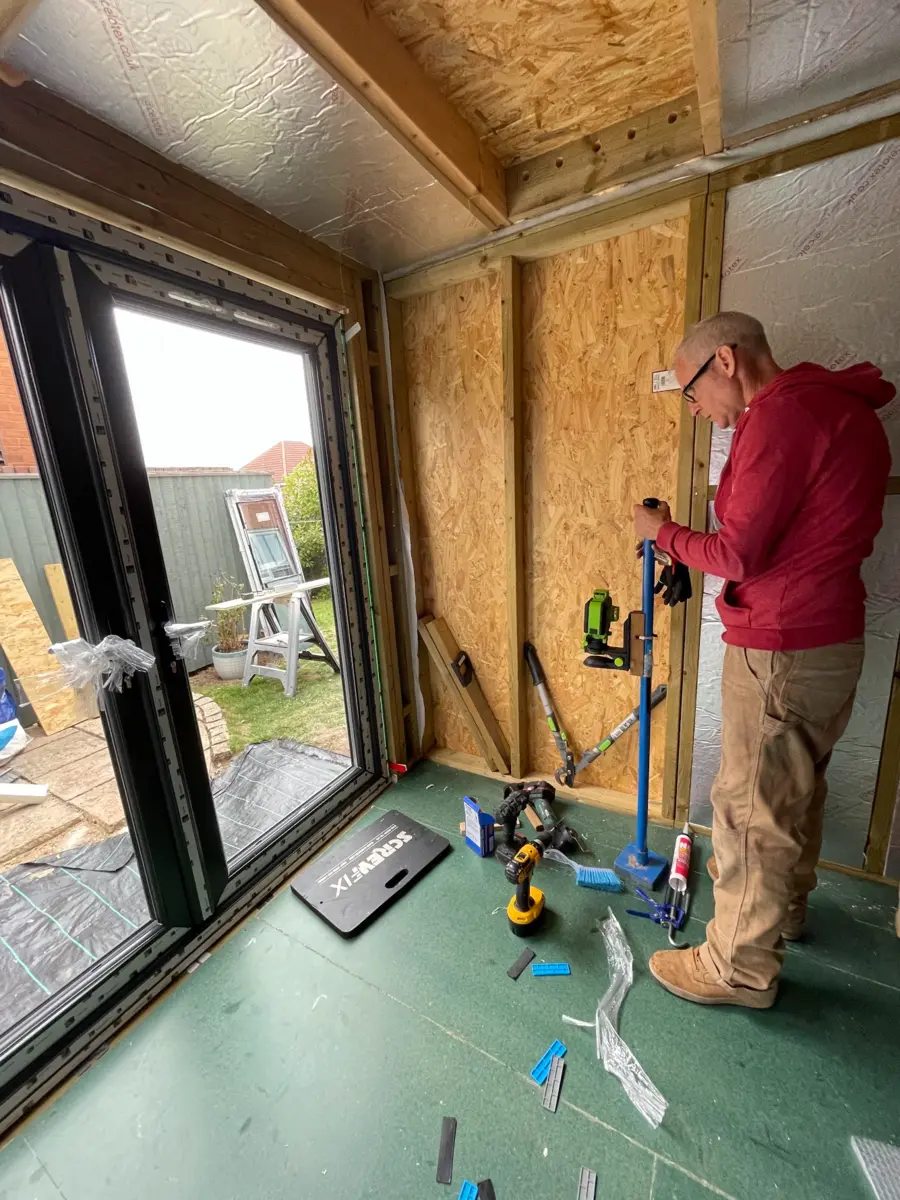
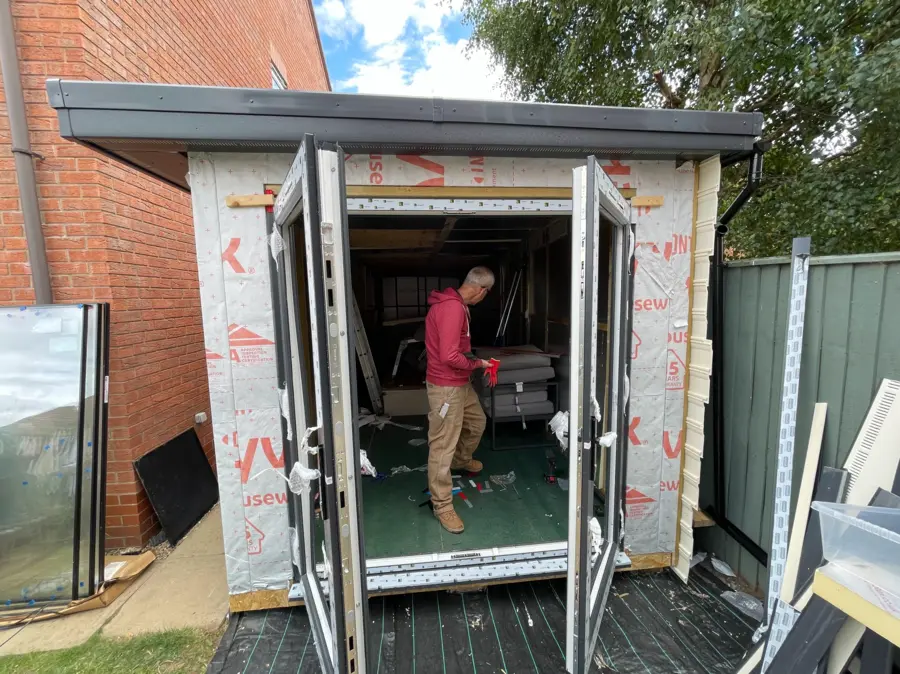
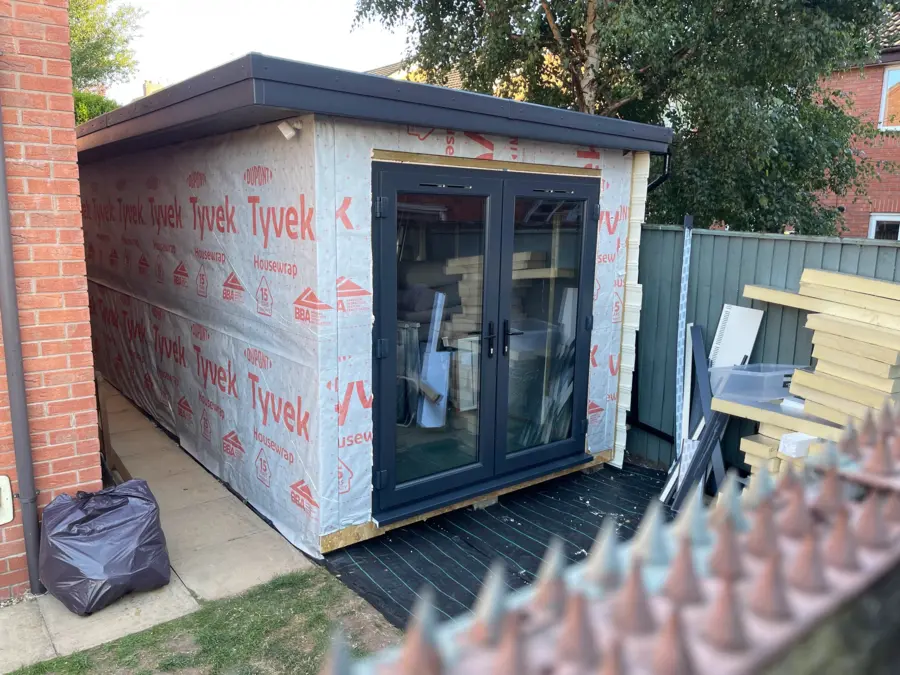
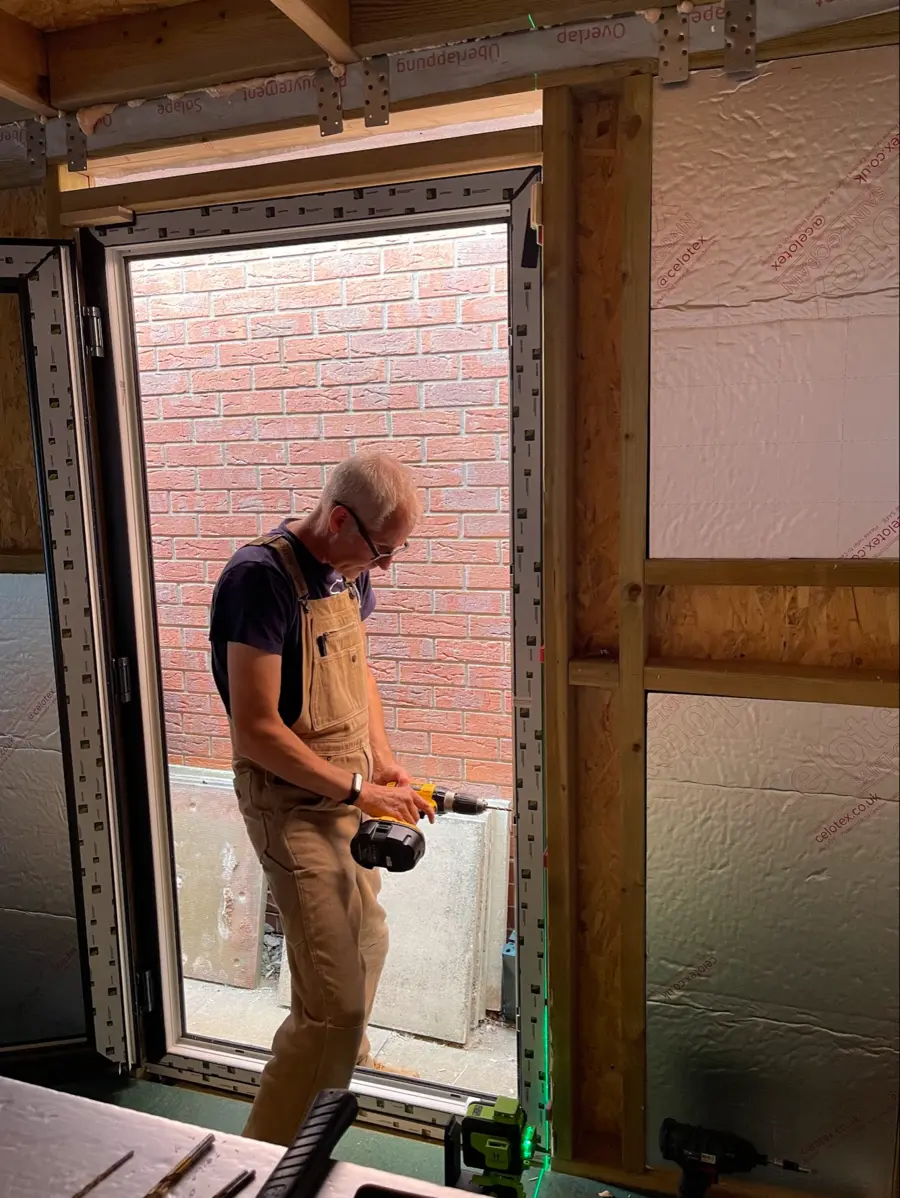
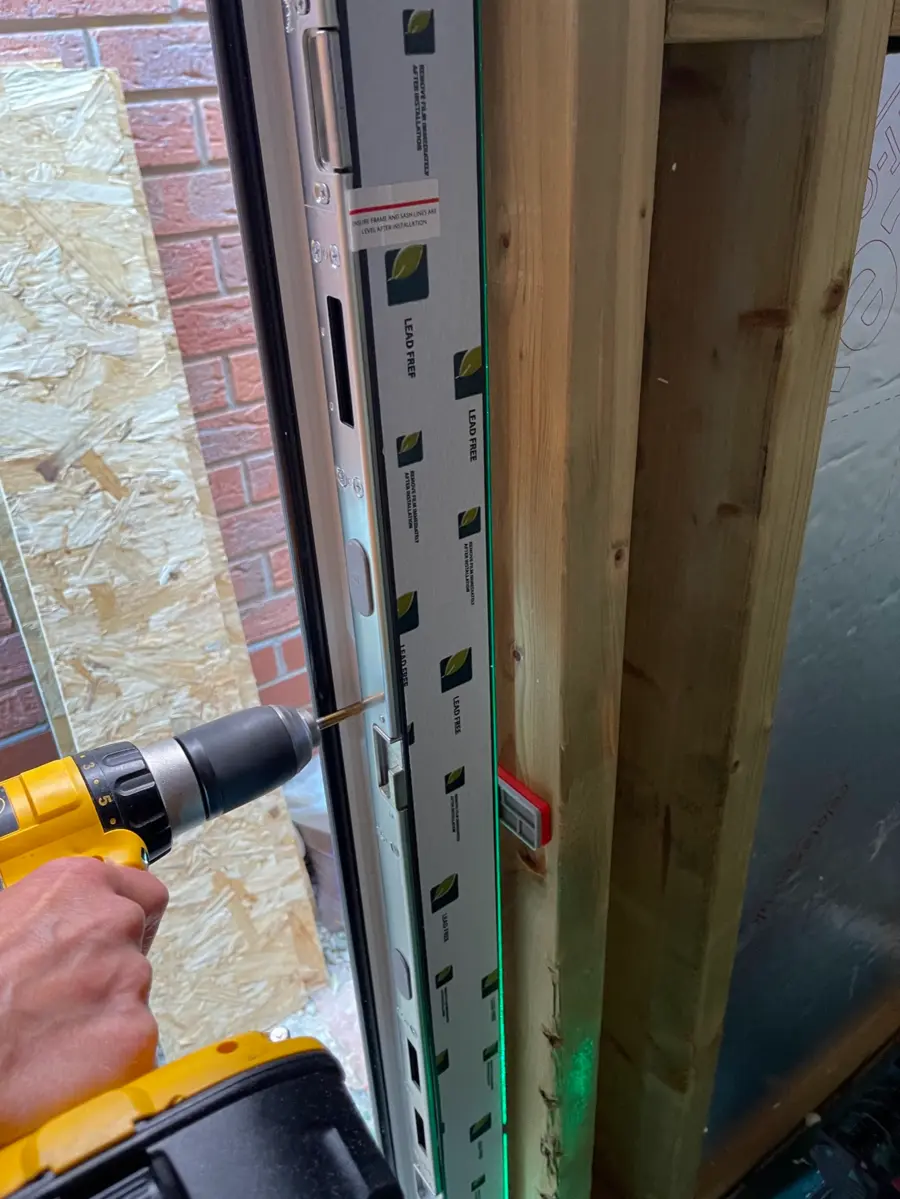
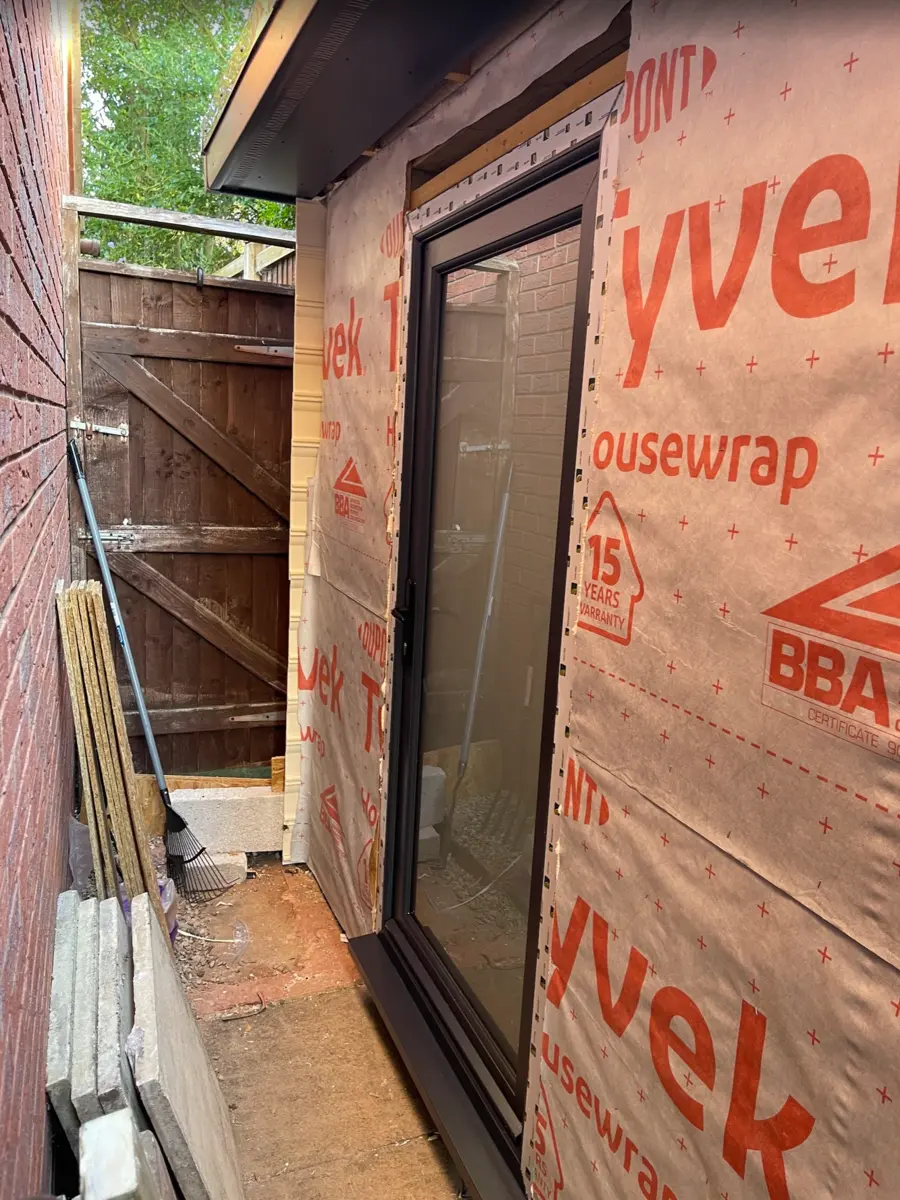
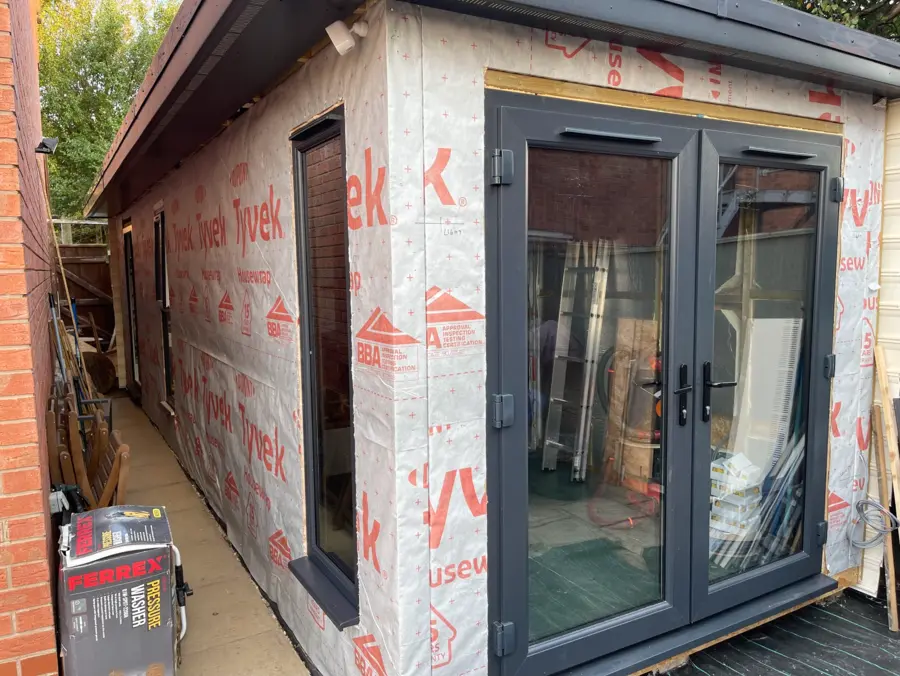
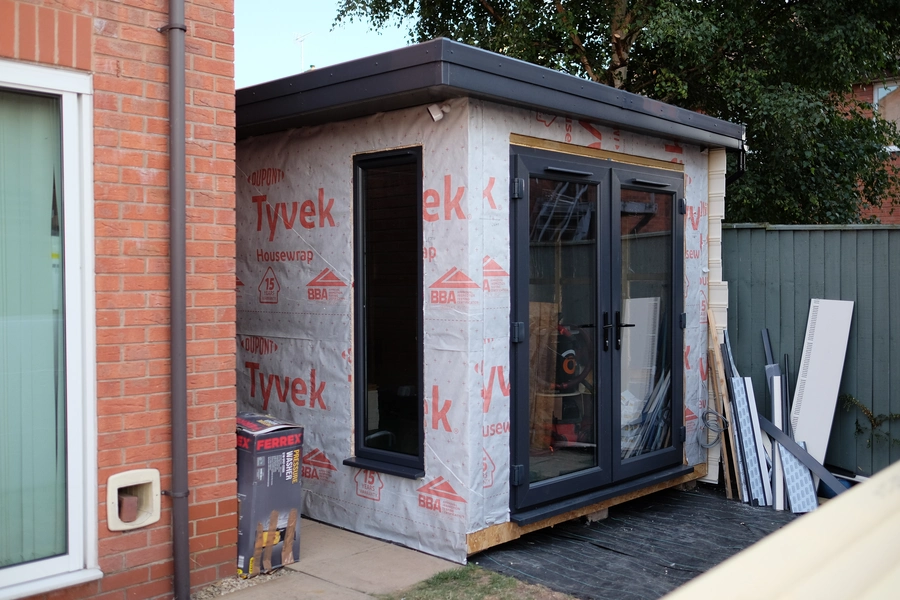
We started by installing the main french doors. The most important steps here were installing the cill perfectly flat and ensuring the frame was square, once again the laser leveller proved to be an essential tool.
Installing the glass was easier than I thought it would be, albeit a little stressful when knocking in the beading.
Insulation & Wiring
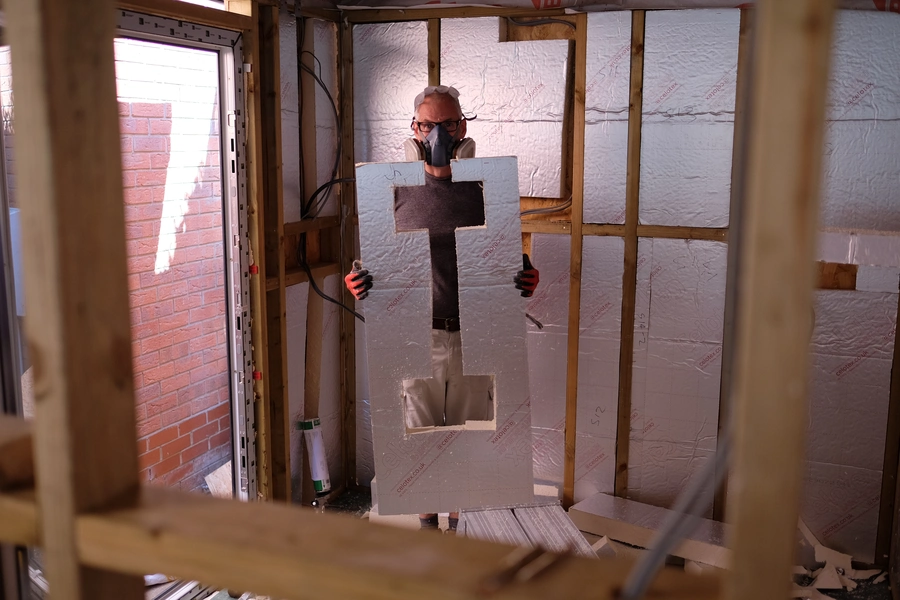
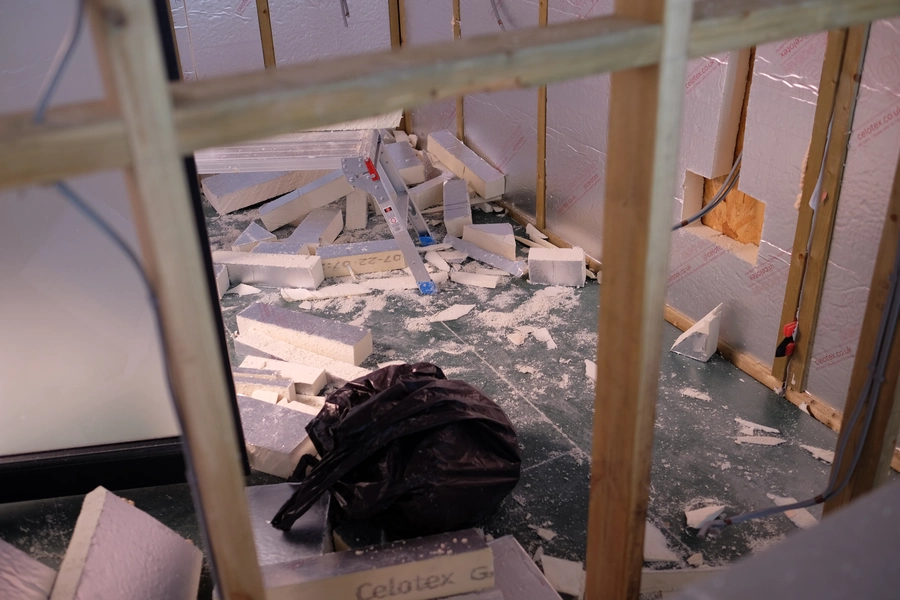
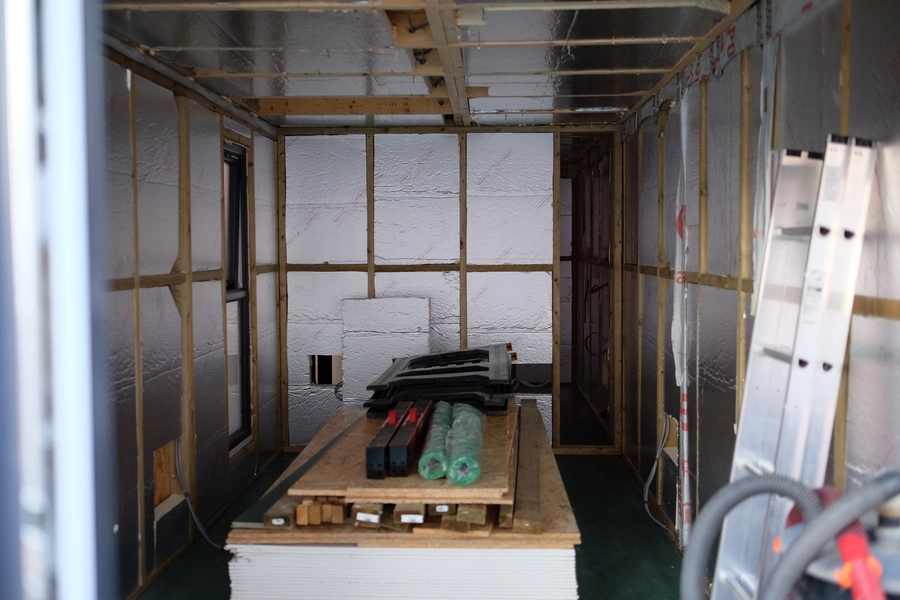
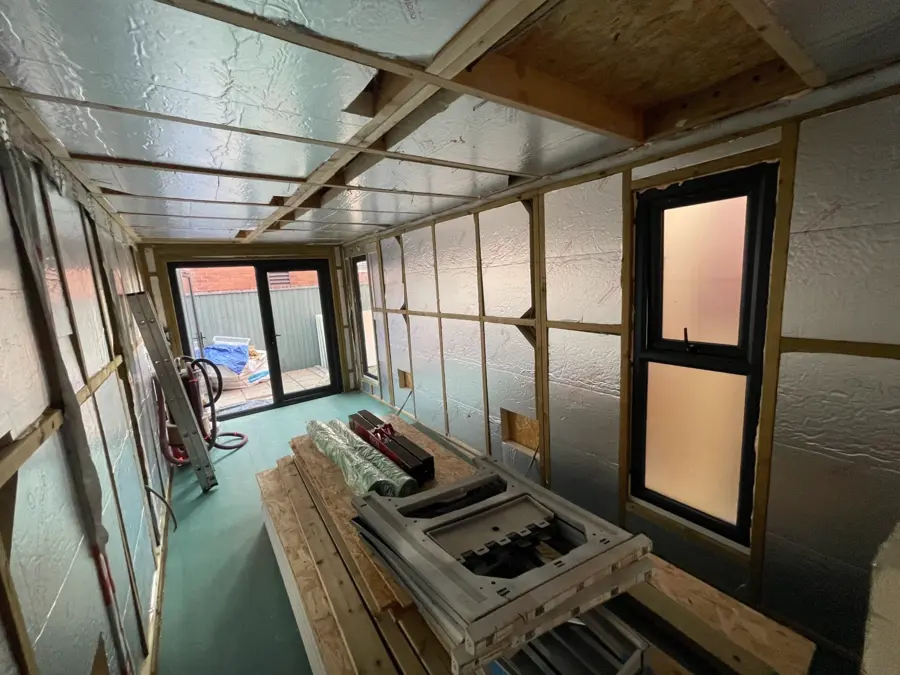
Cutting the insulation was a real nightmare, probably the least enjoyable part of the whole project.
We first used a handsaw but it created way too much dust. After this we tried using a knife, this worked well but it was very slow and tiresome. We then removed the teeth from a jigsaw blade in an attempt to make an automatic knife -- this worked well but as the blade was thin in had a tendency to drift which resulted in wonky cuts.
In the end we used a combination of all of these techniques to get the job done.
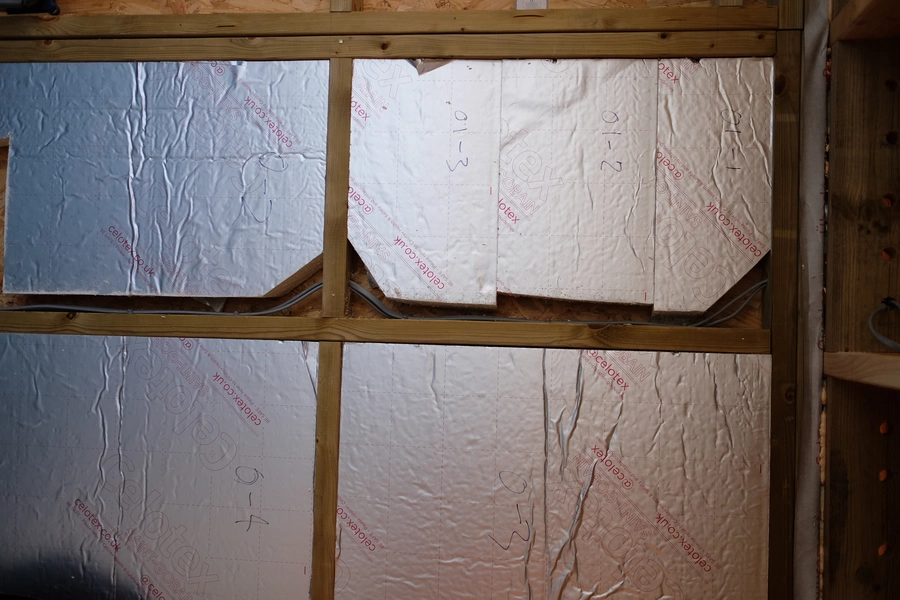
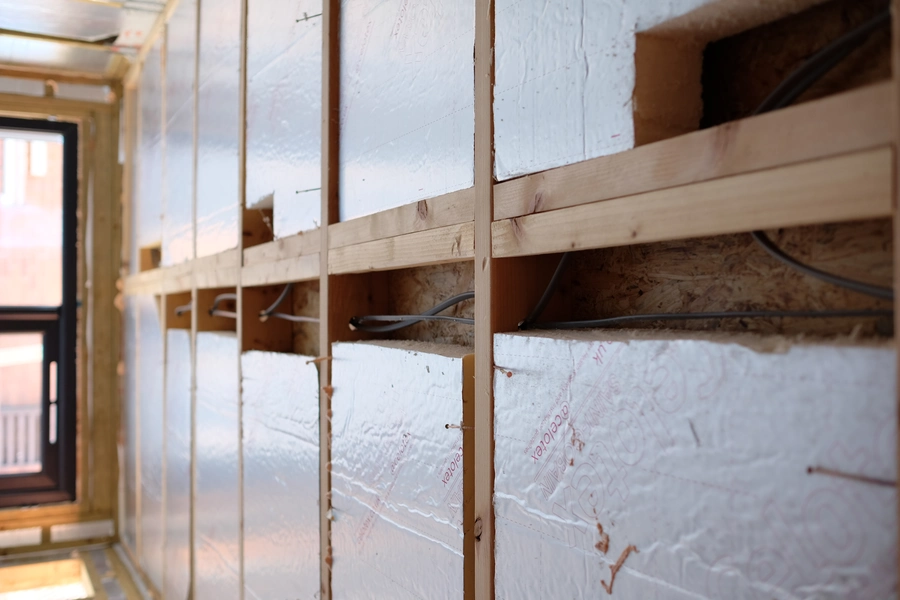
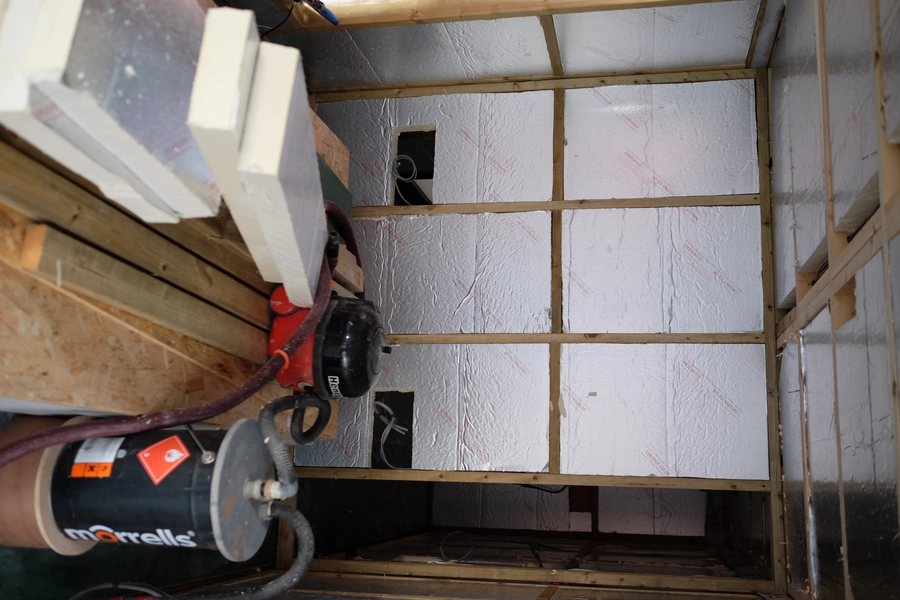
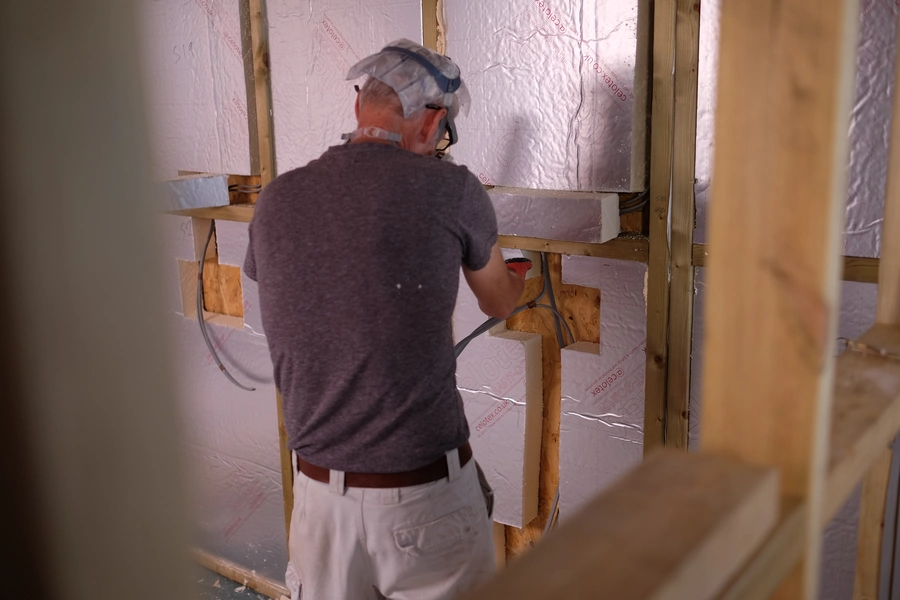
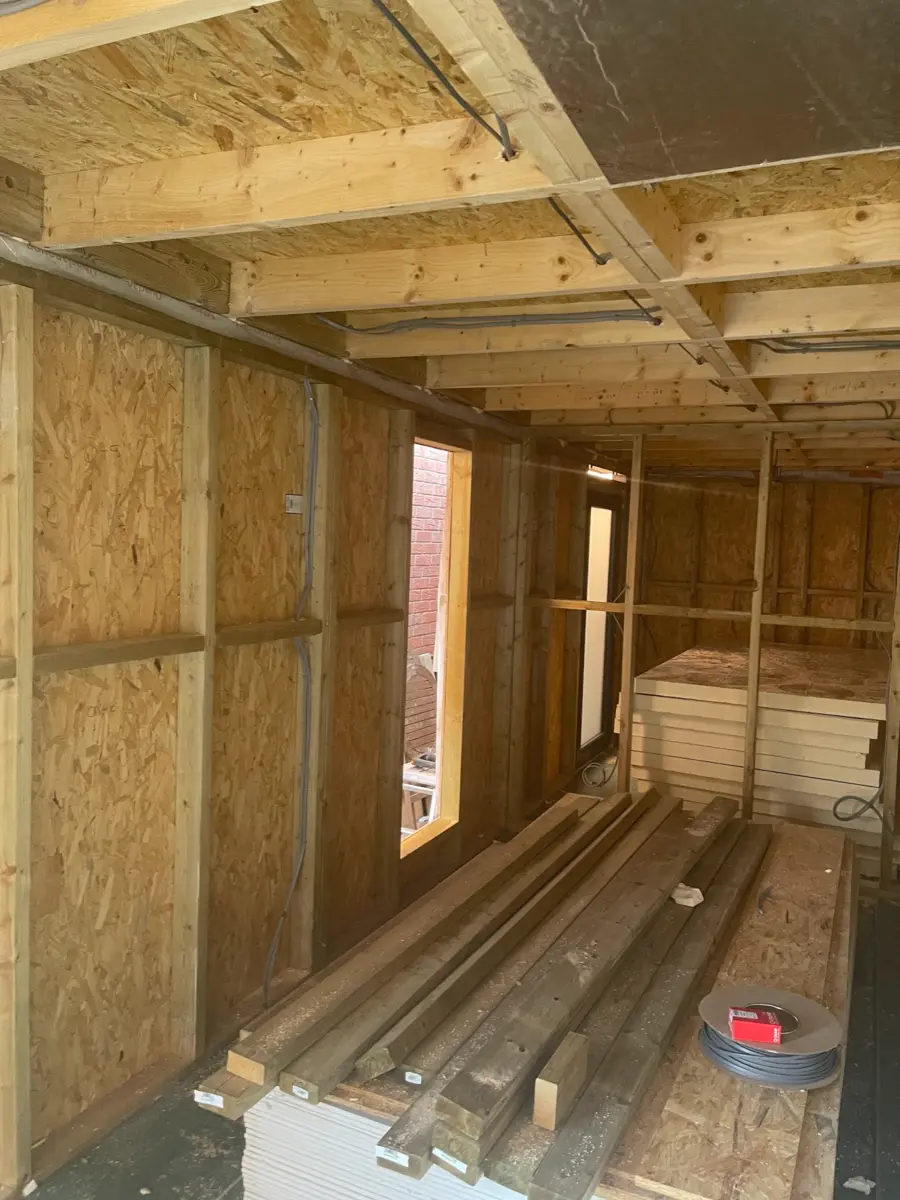
It was at during this time that we also built the interior dividing wall and an electrician did the first fix. We had to cut channels in the insulation to accomodate the wiring, adhering to the regulations.
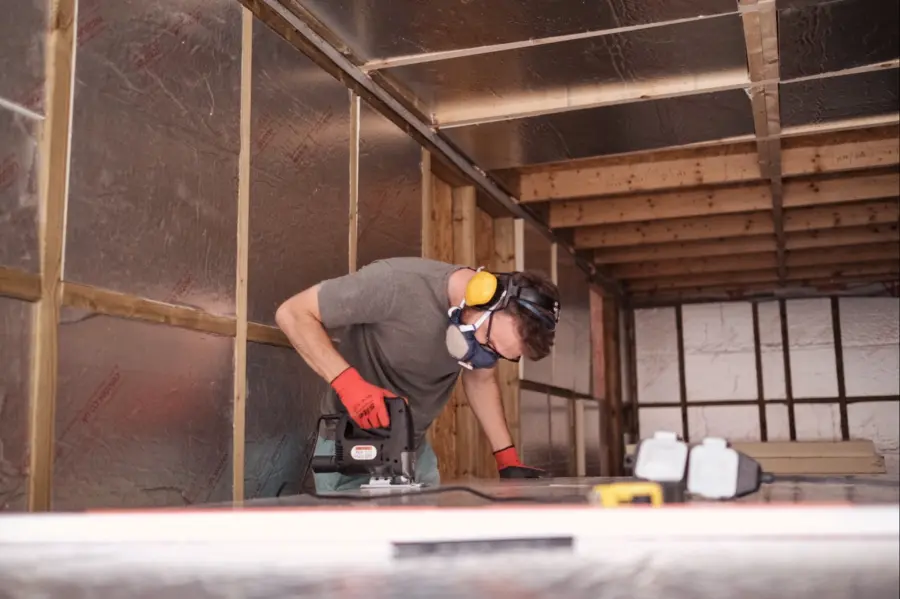
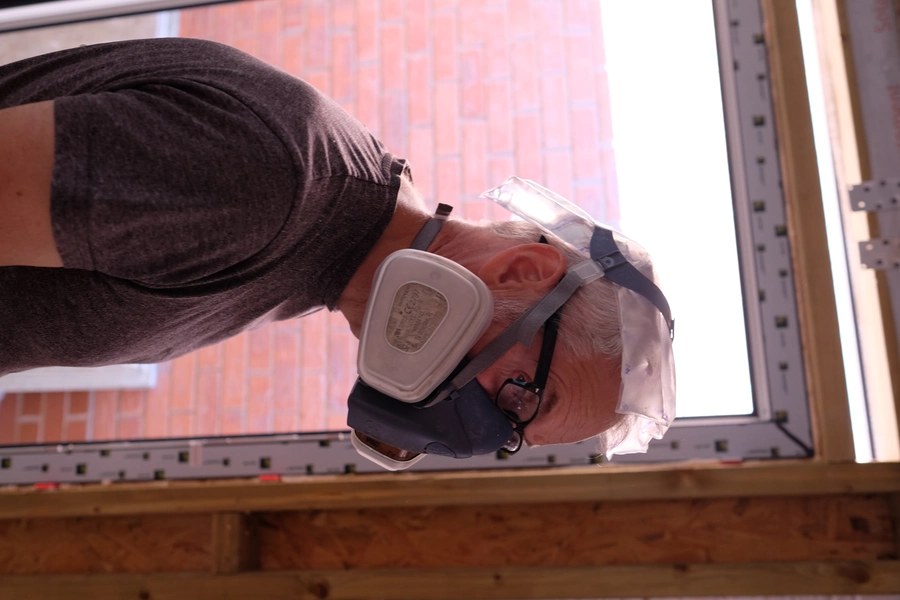
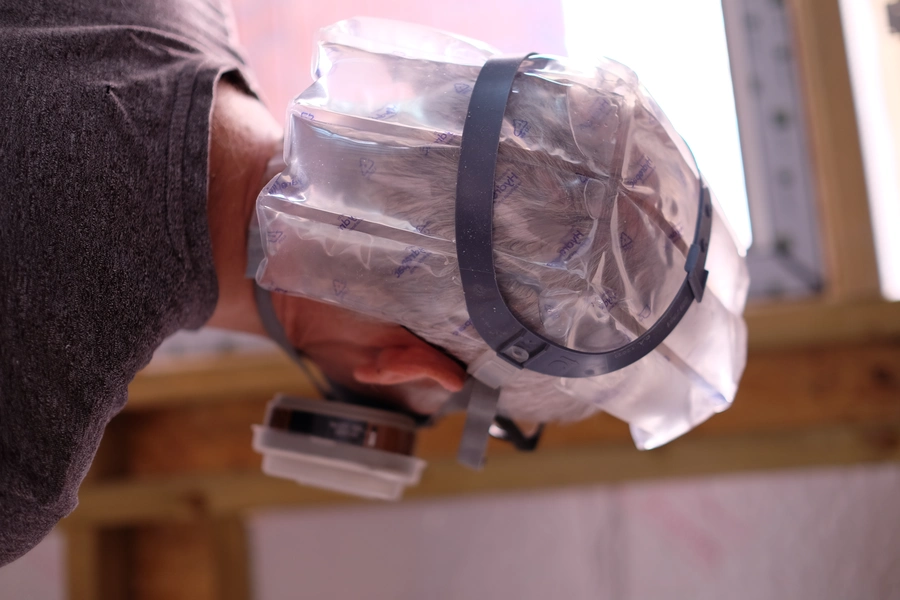
Dad installed an ice pack inside his mask straps as respite from the summer heatwave 🥵😅.
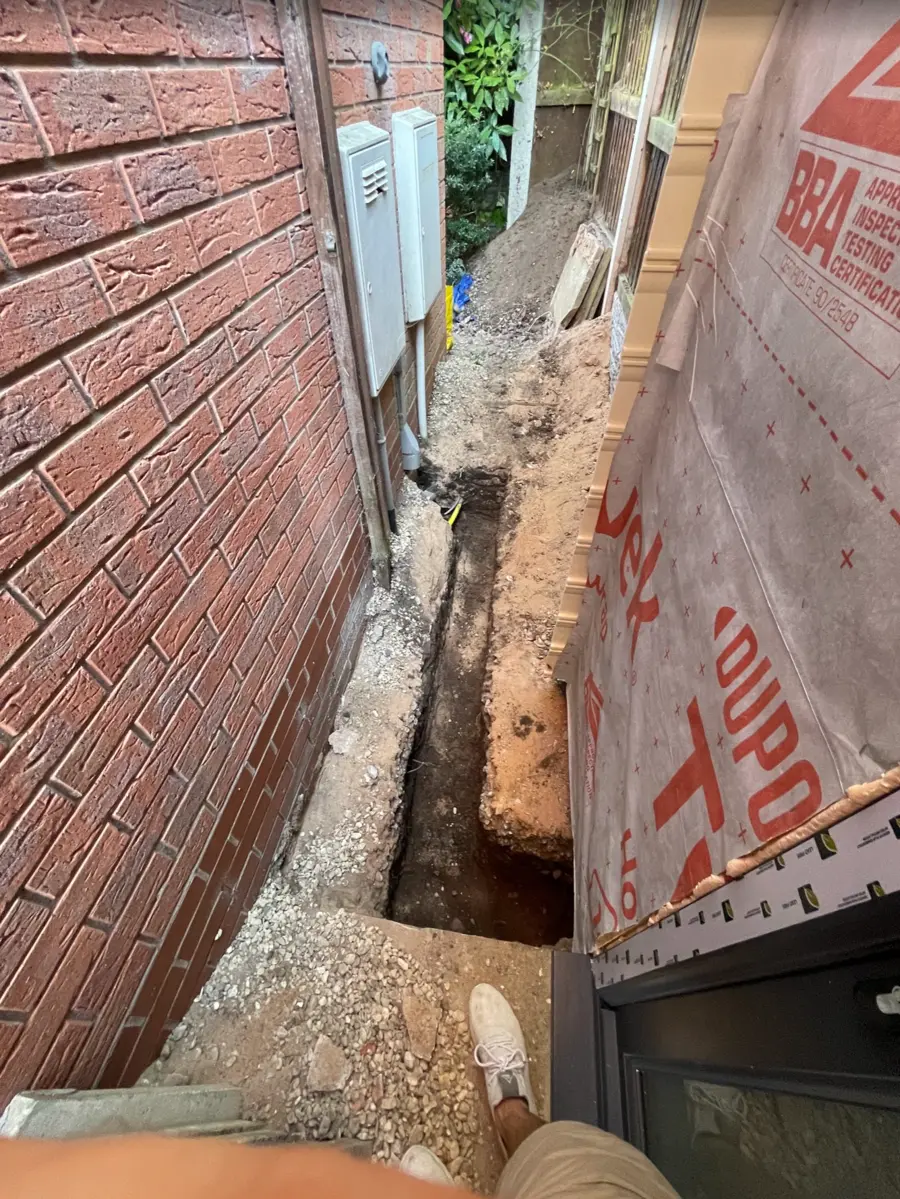
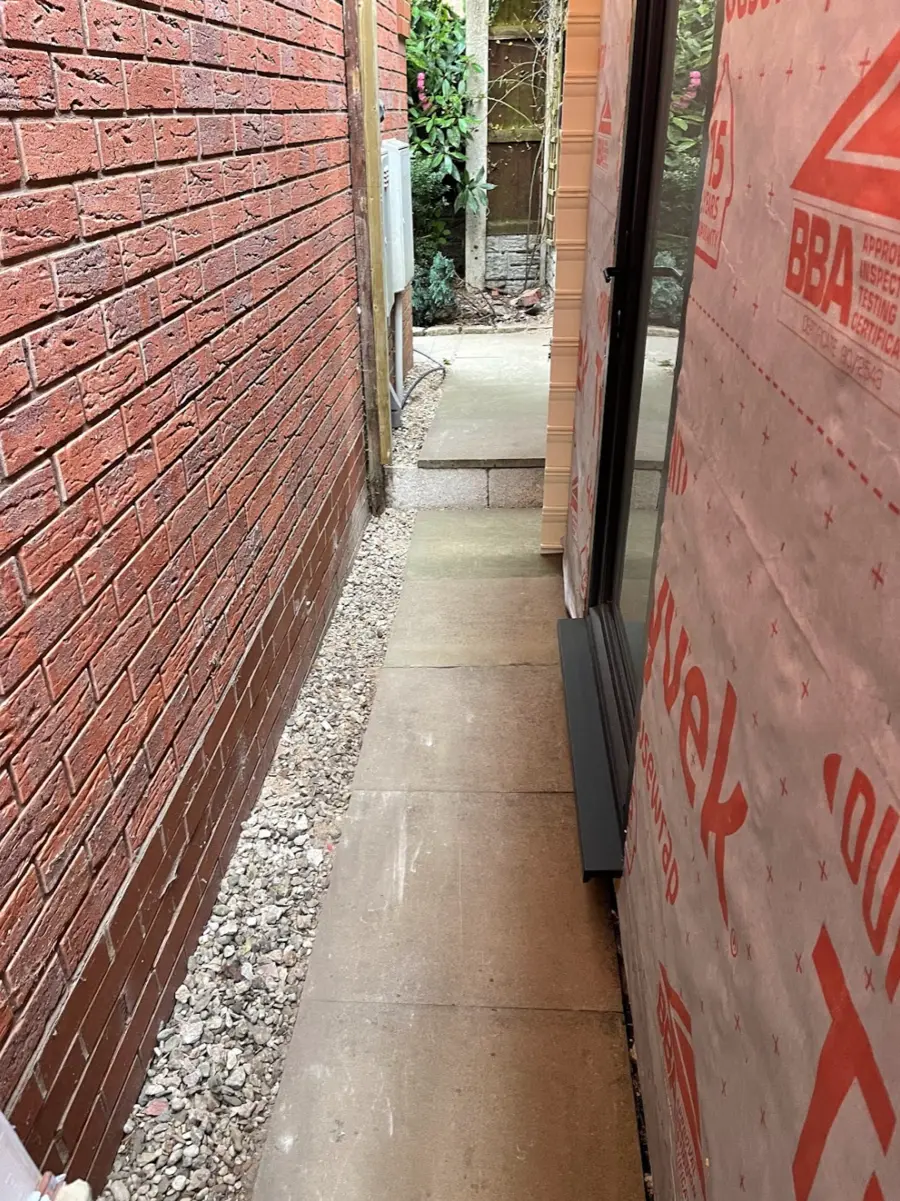
We dug a trench from the house to the building to lay the electrical cables, after it was done we had to fill it back it and lay the slabs again, not easy work in the heat!
Windows
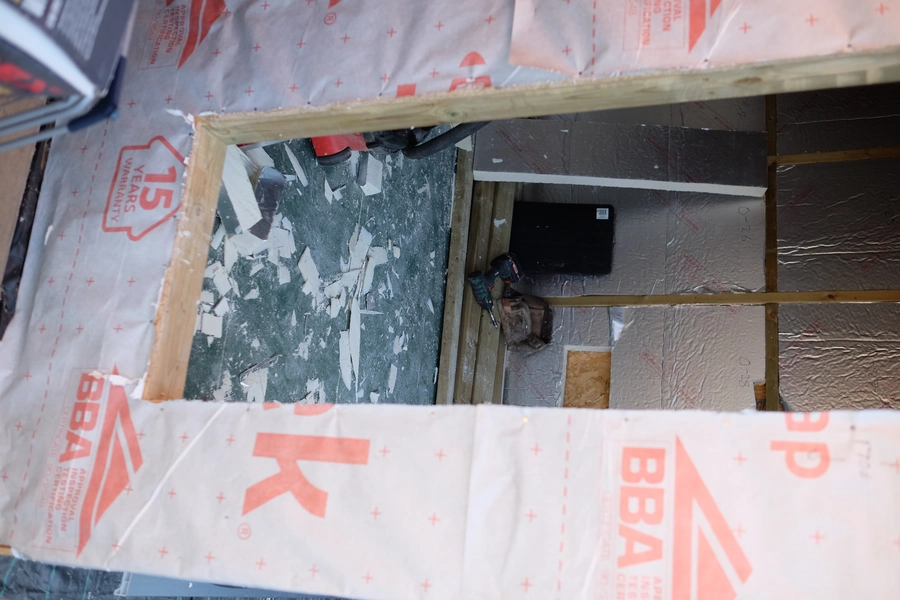
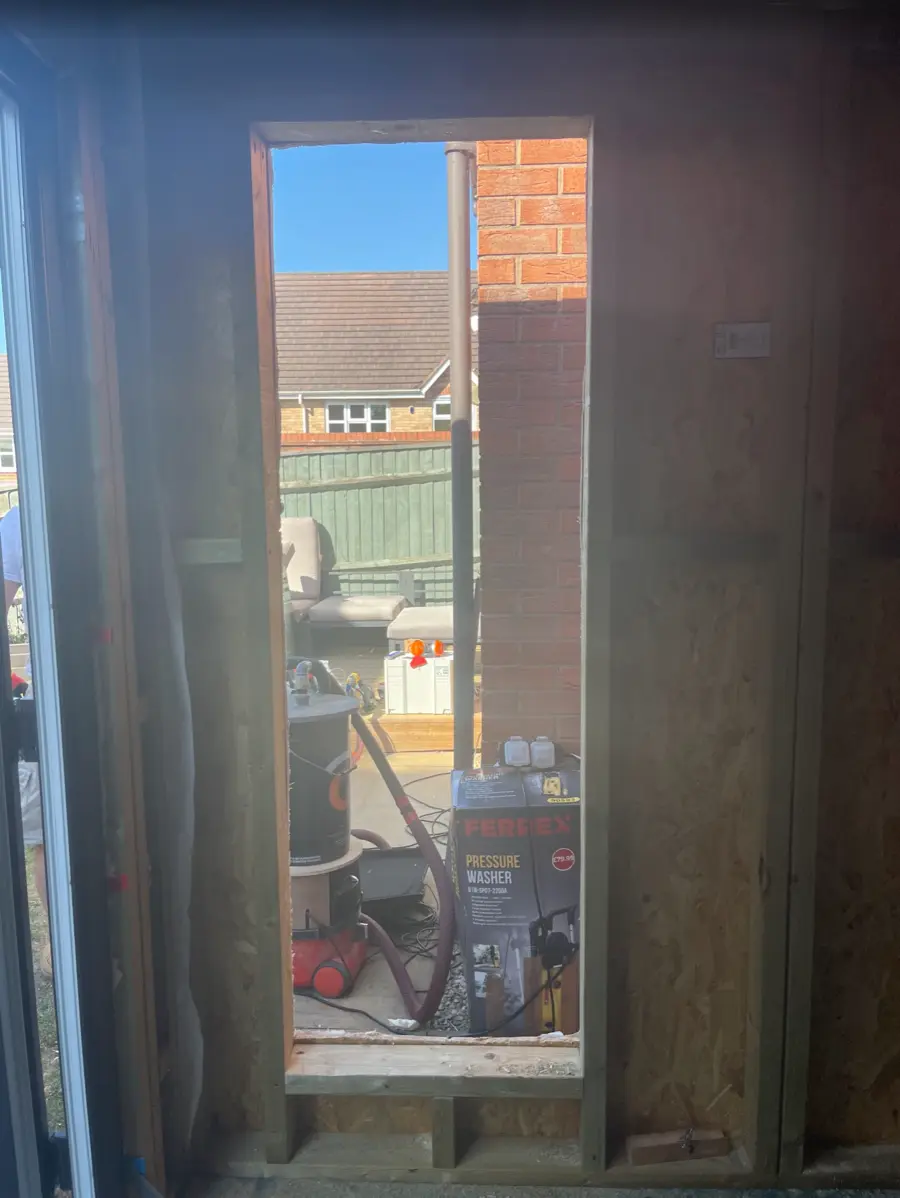
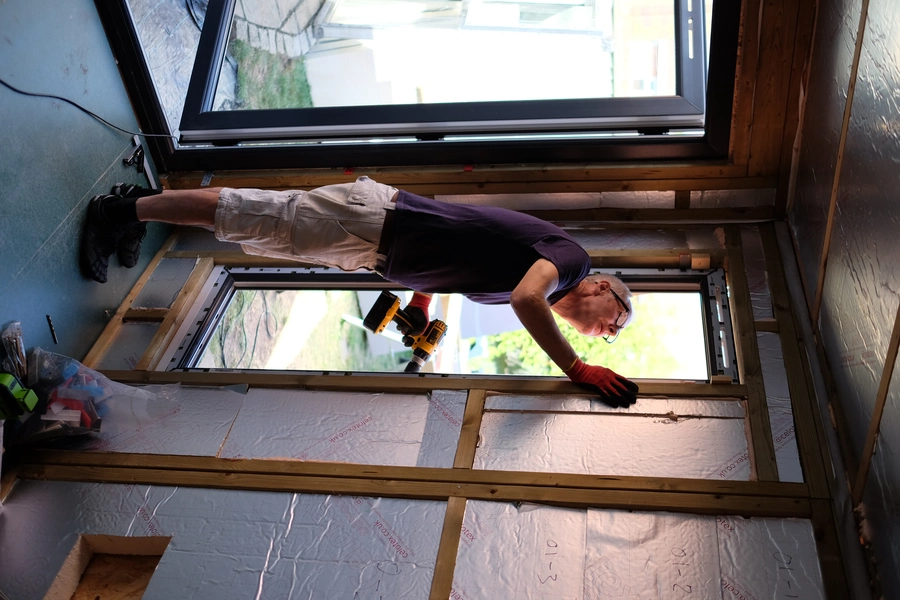
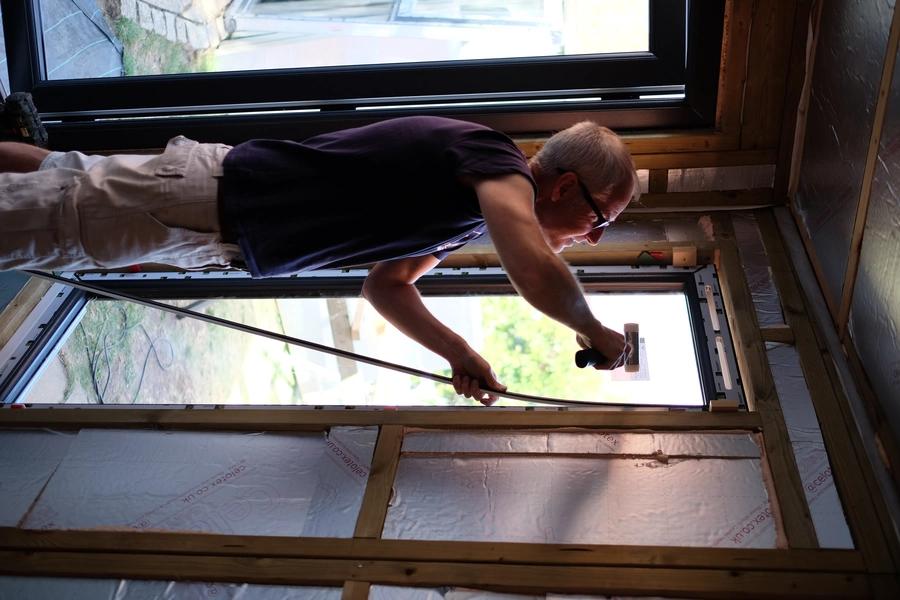
Once I had finally decided on the exact location of the windows we cut and framed some holes. Installing the windows was pretty straightforward as we had already installed the two doors by this point.
Plasterboarding
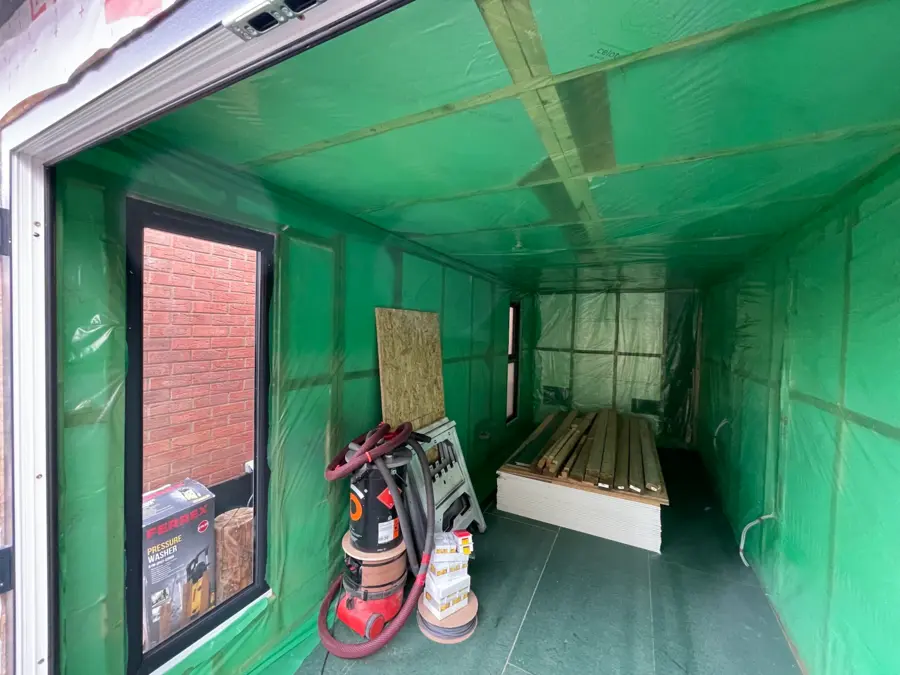
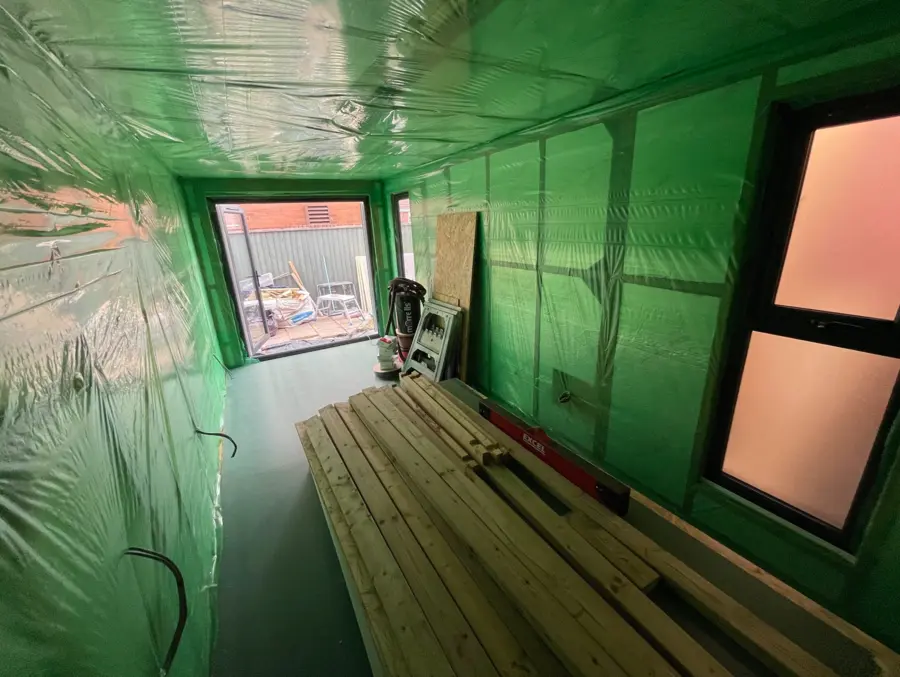
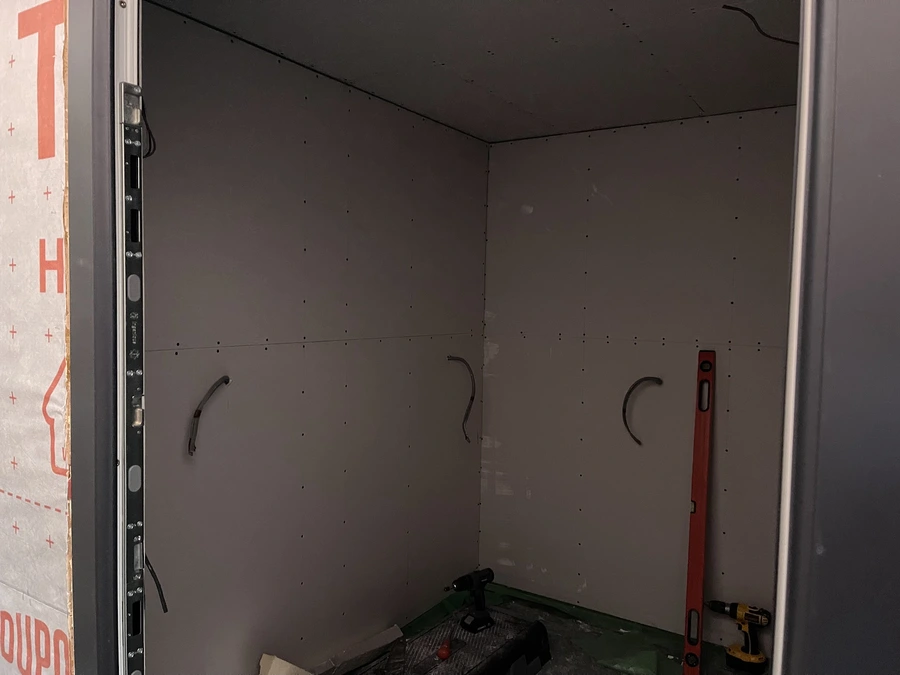
Before installing the plasterboard we lined the walls with vapour barrier. This is an important step as it prevents moisure originating from inside the room from reaching the core building materials, e.g. walls and ceiling, where it would condense and likely grow mould.
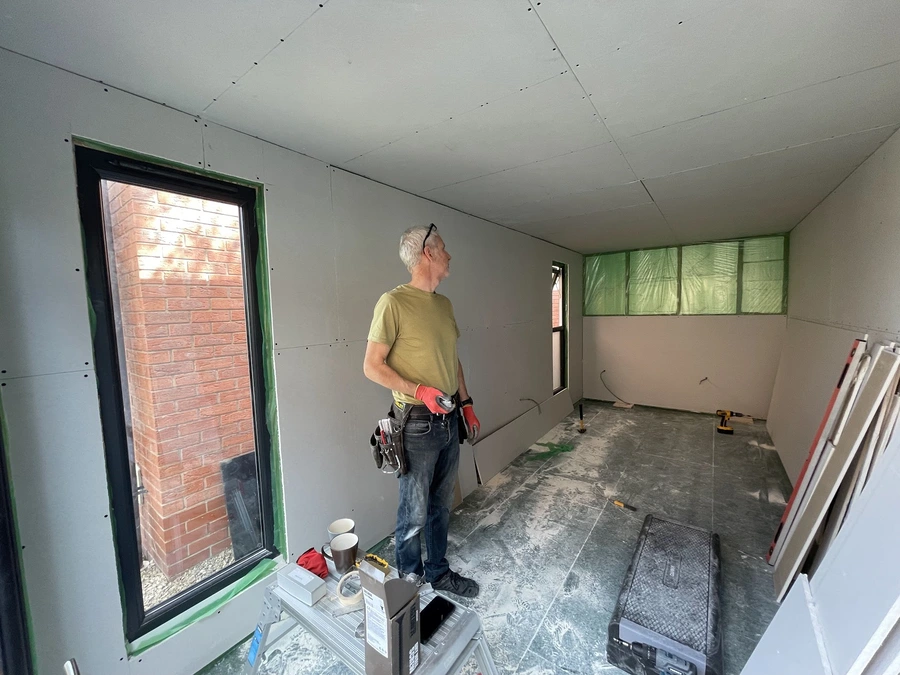
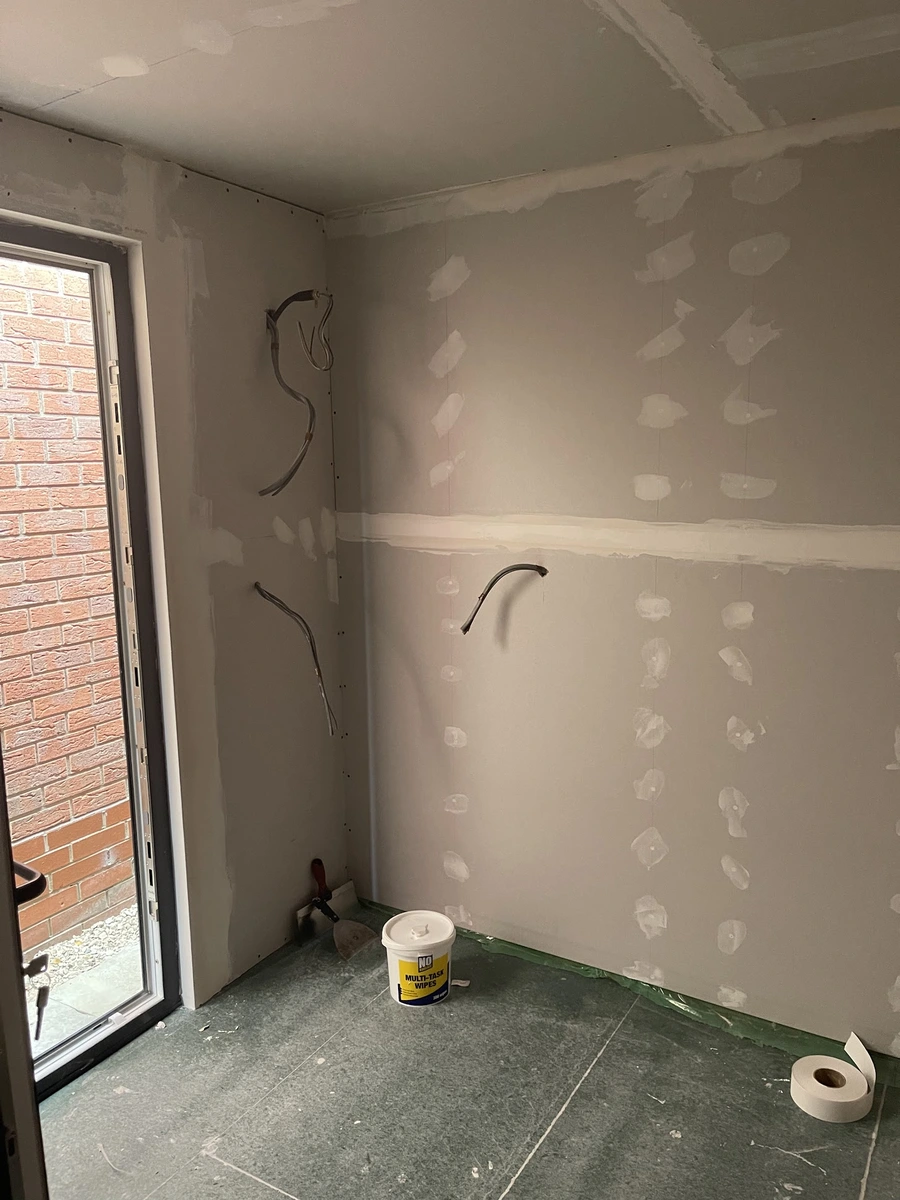
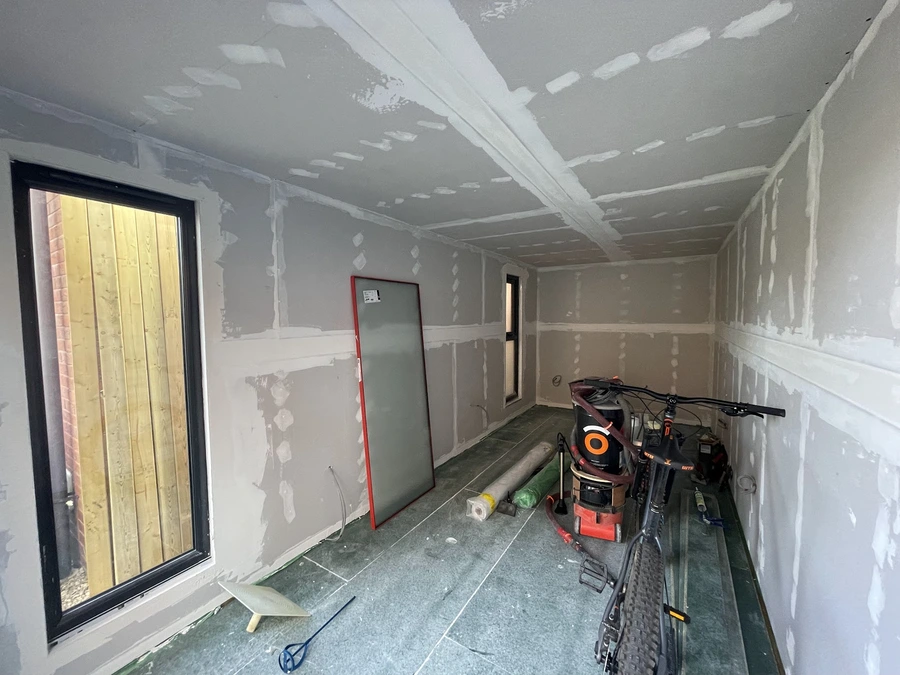
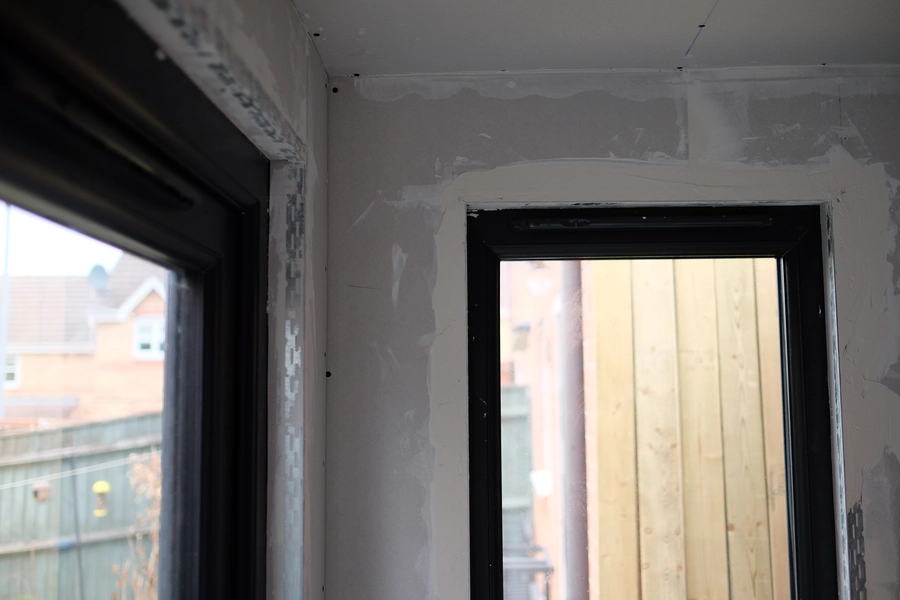
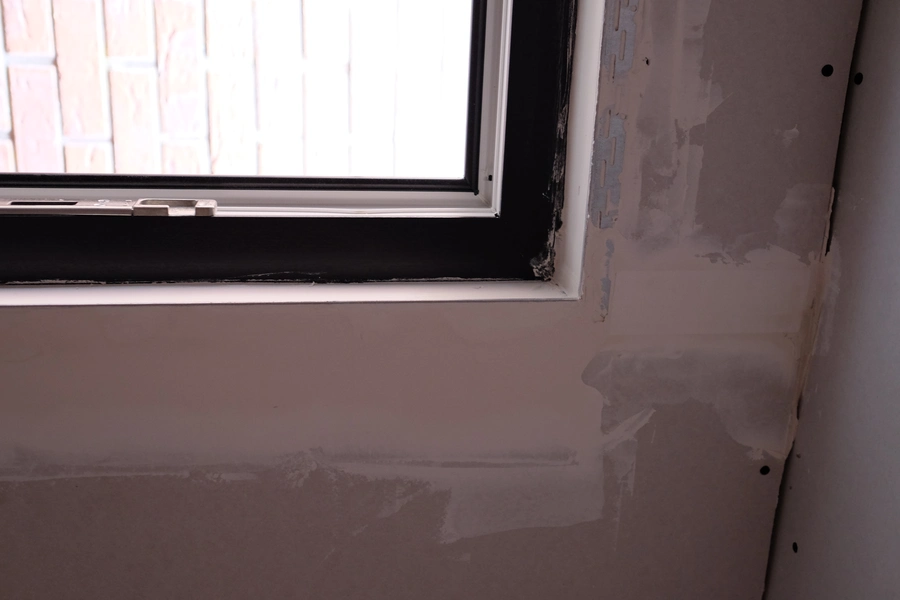
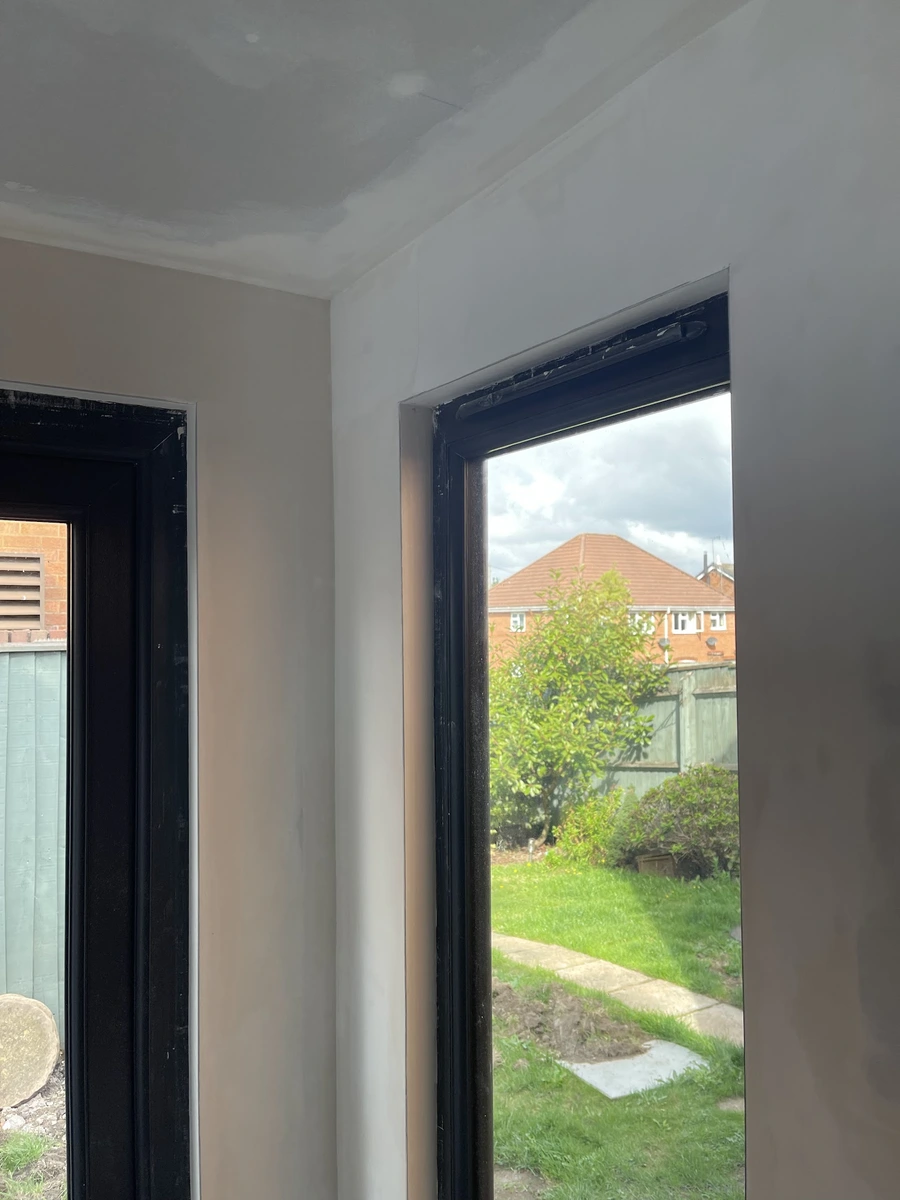
We used tapered edge plasterboard rather than traditional square edge. This gave us perfect even surfaces without skimming, we just had to fill the tapered joins, screw holes and corners around doors/windows with joining compound.
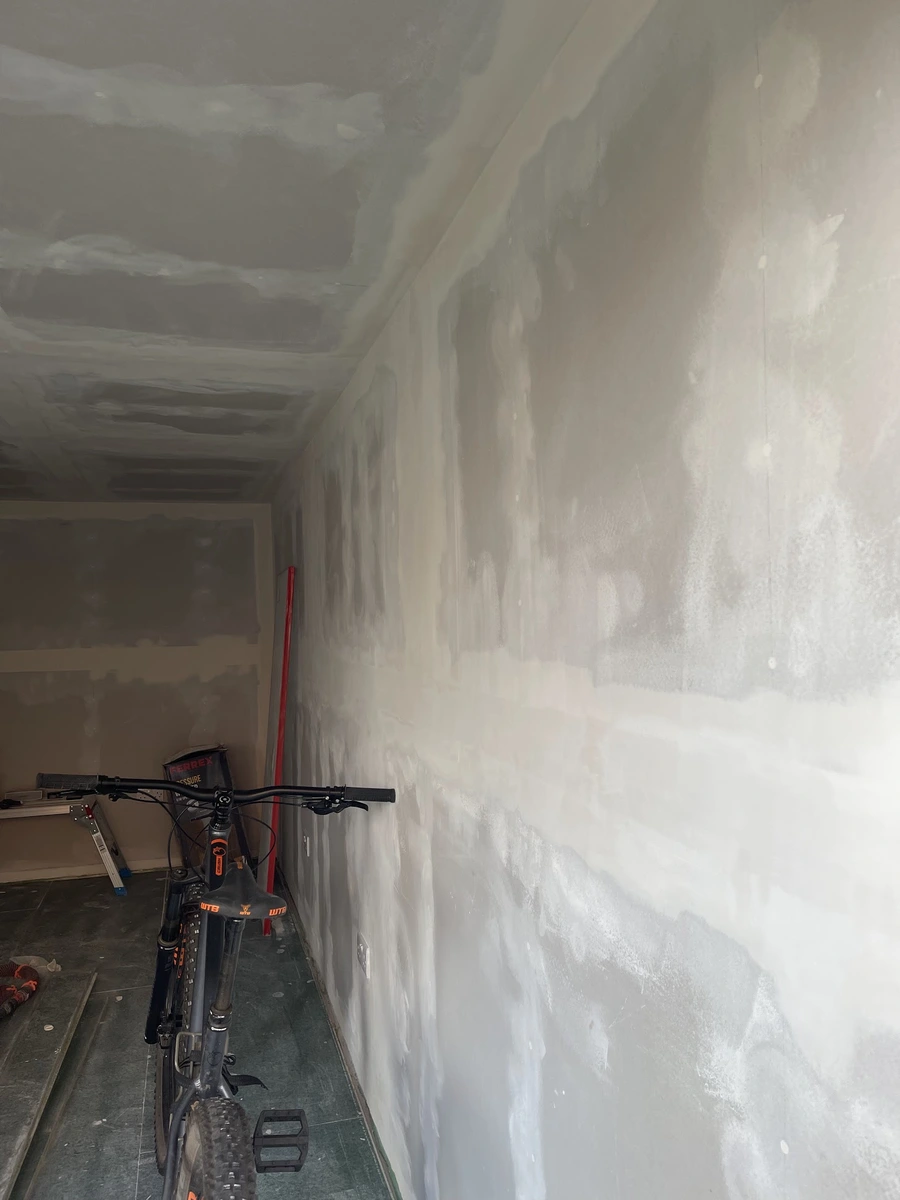
This part of the project took longer than I anticipated. The joining compound needed to dry for at least 24 hours, sometimes longer for thicker patches, before we could sand and repeat — it took 3 or 4 iterations to perfectly conceal the joins.
Even though it took a while, our patience paid off and the final result had a really great finish.
That's a wrap, in the next part I will be going through decoration and cladding.
